

Redscale Film: Fuji Superia 400
November 2, 2020
This year I experimented with a film technique called redscale. While it’s possible to purchase prefab redscale film, it’s much cheaper to do it yourself. All you do is load film in your camera backwards so you end up shooting through all the orange/red film layers before the light reaches the emulsion. This creates an apocalyptic, dystopian, “something’s not right” look that I thought would be fitting for 2020.
I used a roll of Fujifilm Superia 400, which is one of the cheapest color films you can find these days. Not coincidentally, this is also one of my favorite films to shoot. I took a roll and placed it inside a dark bag along with a pair of scissors and a roll of tape. I proceeded to: unroll, cut, turn the film around, tape, and re-roll the film back into the same canister without the benefit of sight. If you’ve ever used a film dark bag before, you know how maddening yet gratifying it is to be able to do this all by feel. I think I did it right!
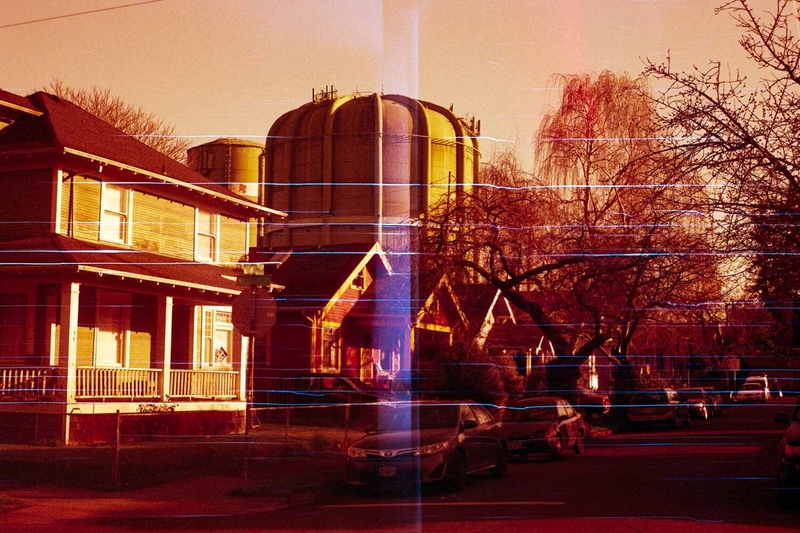
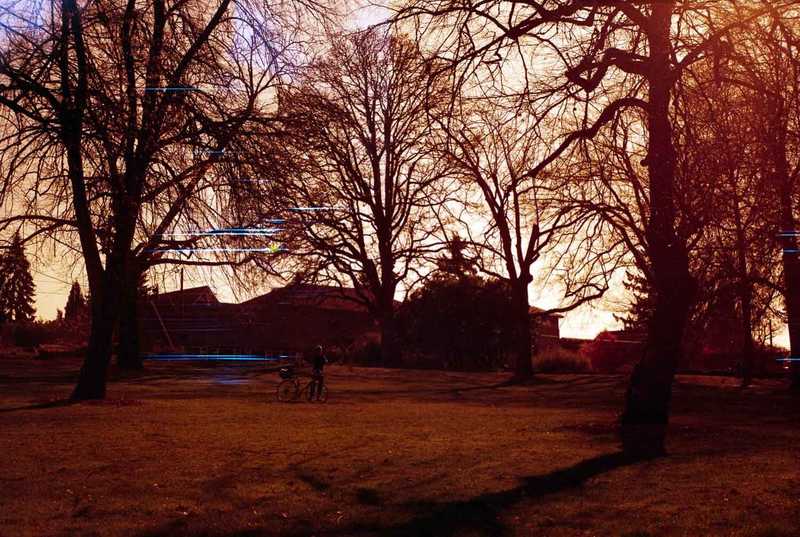
Well, I did and I didn’t. As you can see from the first photo (above), there are a LOT of scratches and a light leak down the middle. I surely did this when I unrolled and handled the film. However, I was surprised how much the scratches add to some of the photos. Thankfully, there are quite a few photos with no scratches or light leaks.
Something’s Not Right
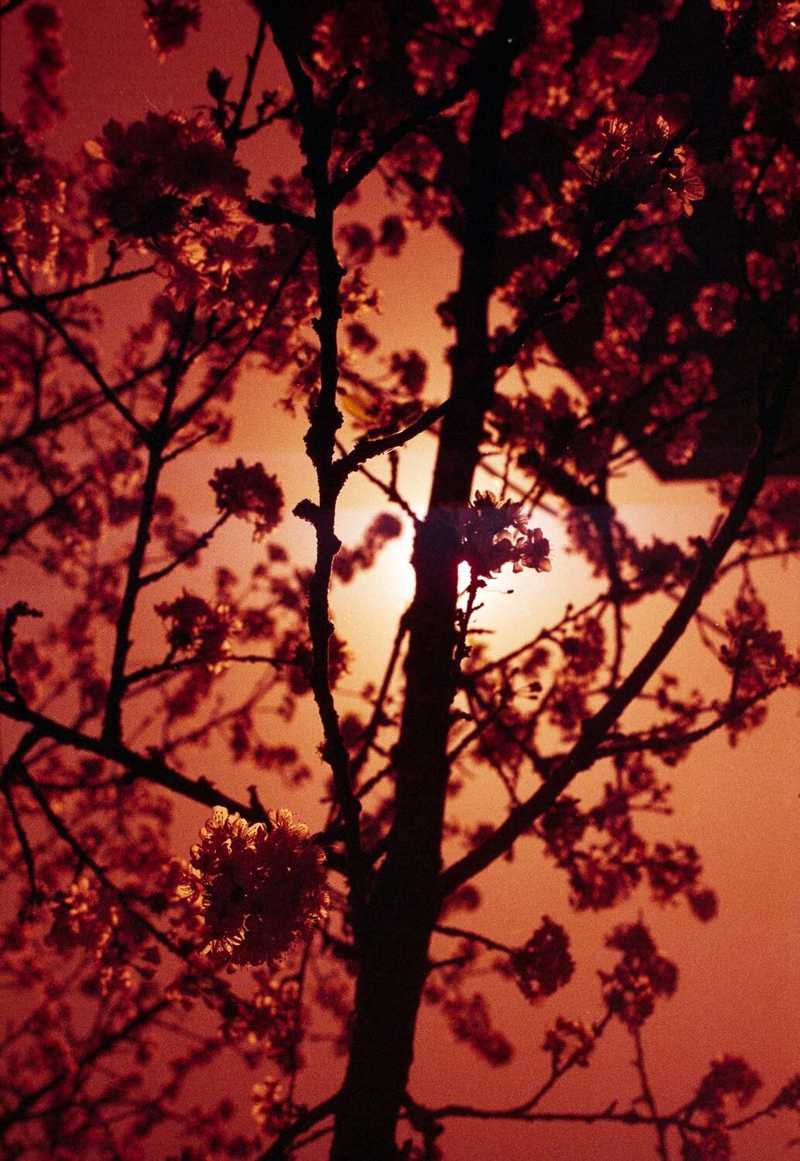
I’m amazed at how different the feel of a scene can be by this color shift using redscale film. I can’t help but create narratives for these photos. What’s happening in the world where the sky is red? Wildfires? Alien invasion? An American Election?
Happy Accidents
While I mostly embrace the unpredictability of film, I still want to make sure I’m in the ballpark when I try a new technique such as redscale film. After all, you might have to wait months before seeing the result, depending on how long you forget about the roll of film in a cupboard.
I learned through some internet research that you should add at least two stops to your exposure when shooting redscale film. Since I shot Fujifilm Superia 400, 2 stops more exposure meant metering like it was 100 speed film. That works out fine if outdoors with good light, but if you started out with say, 100 speed film, that means you are now shooting 25 speed film. Unless it’s REALLY sunny outside, this would not be good for hand-holding a camera. For that reason, I would recommend at least starting with 400 speed film if you want to try out redscale without needing a tripod.
Even though I did my best with researching how to expose the film, I ended up with many strange and happy accidents (see below):
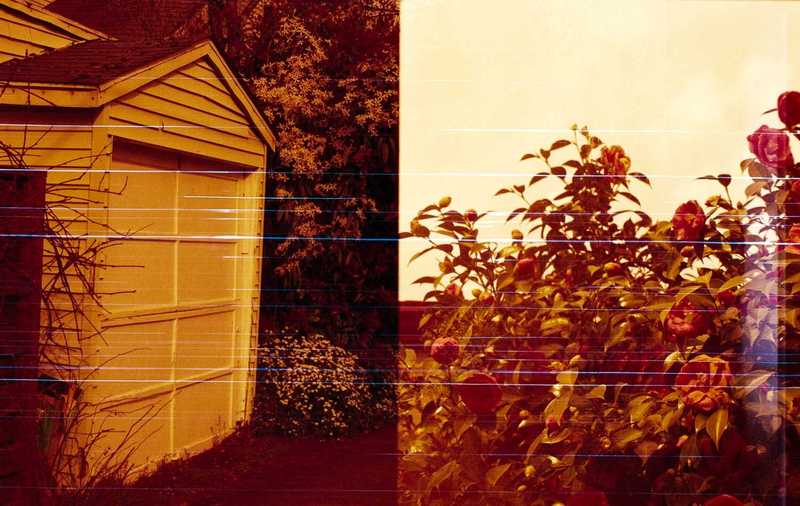
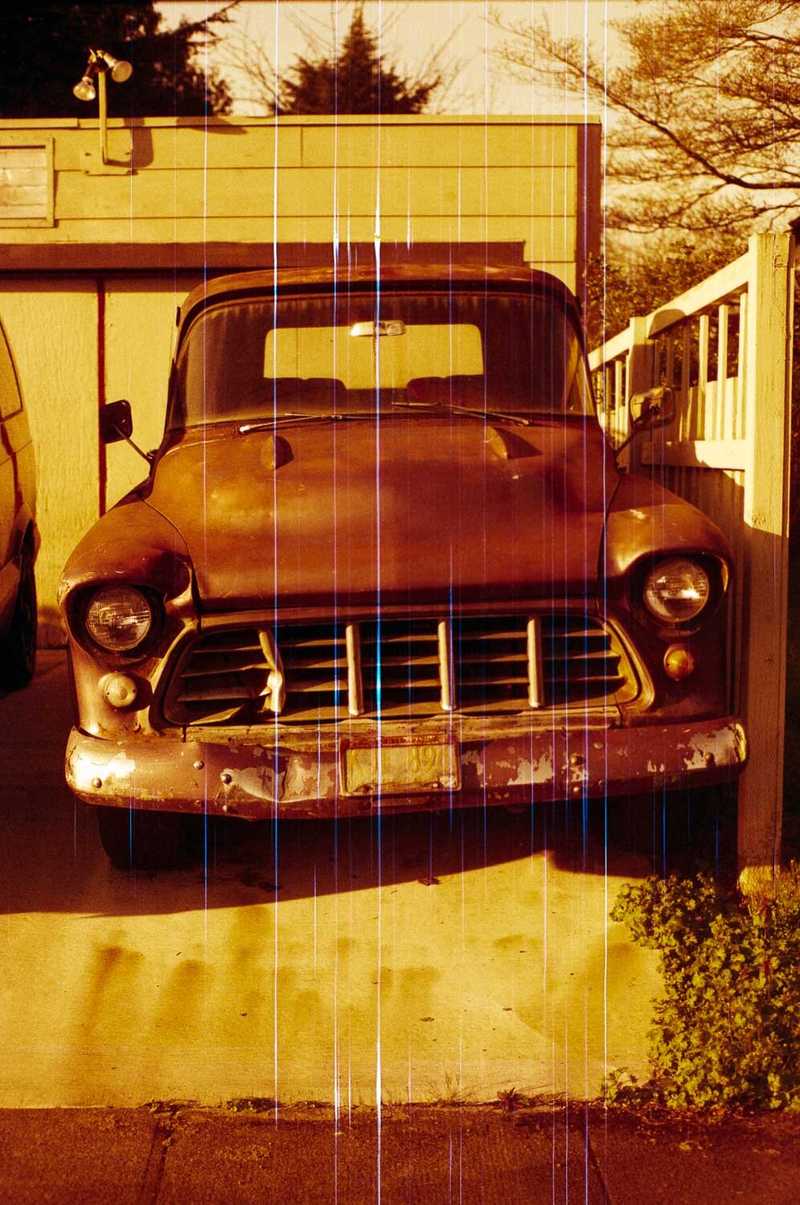
I guess my camera jammed a bit while advancing the film. These two separate shots (above) are right next to each other with no border. Also present are all those blue laser beam-like scratches. What do you think about those scratches? Are they helping or hurting the photos?
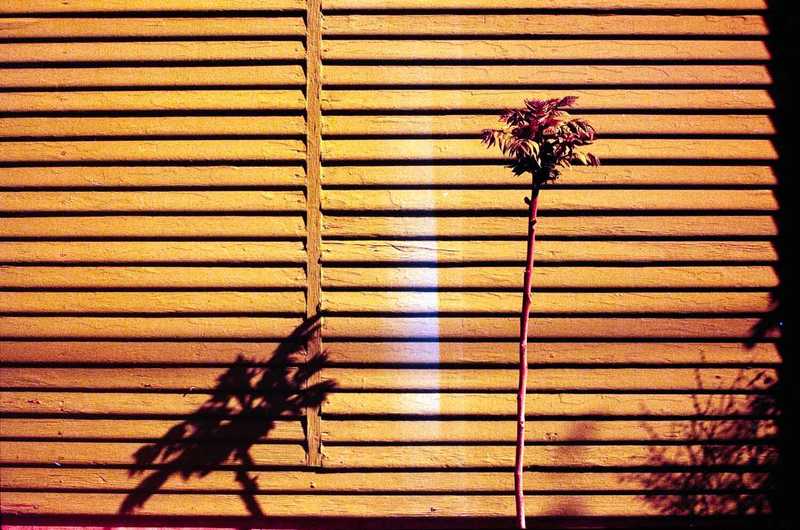
Here’s a few more of my favorites from this roll of film:
Conclusion
I really enjoy trying new techniques that have the element of unpredictability. While I have purchased prefab redscale film in the past, I found the process of re-rolling standard color film to be more fun. I would certainly recommend it if you have a dark bag and a spare roll of color film.
-Chris